With grilling season coming to an end, it's time to think about winter storage for your grill. This will ensure it's in great shape come spring.
Whether you’re storing your grill indoors or need to leave it outside, proper winterization protects against corrosion, rust, and cold weather.
Read on for a detailed guide on how to winterize your grill, cover it properly, and keep it in good shape.
Pre-Winterization Steps
Before storing your grill, a thorough cleaning and inspection is essential. These steps will prevent rust, corrosion, and flare-ups.
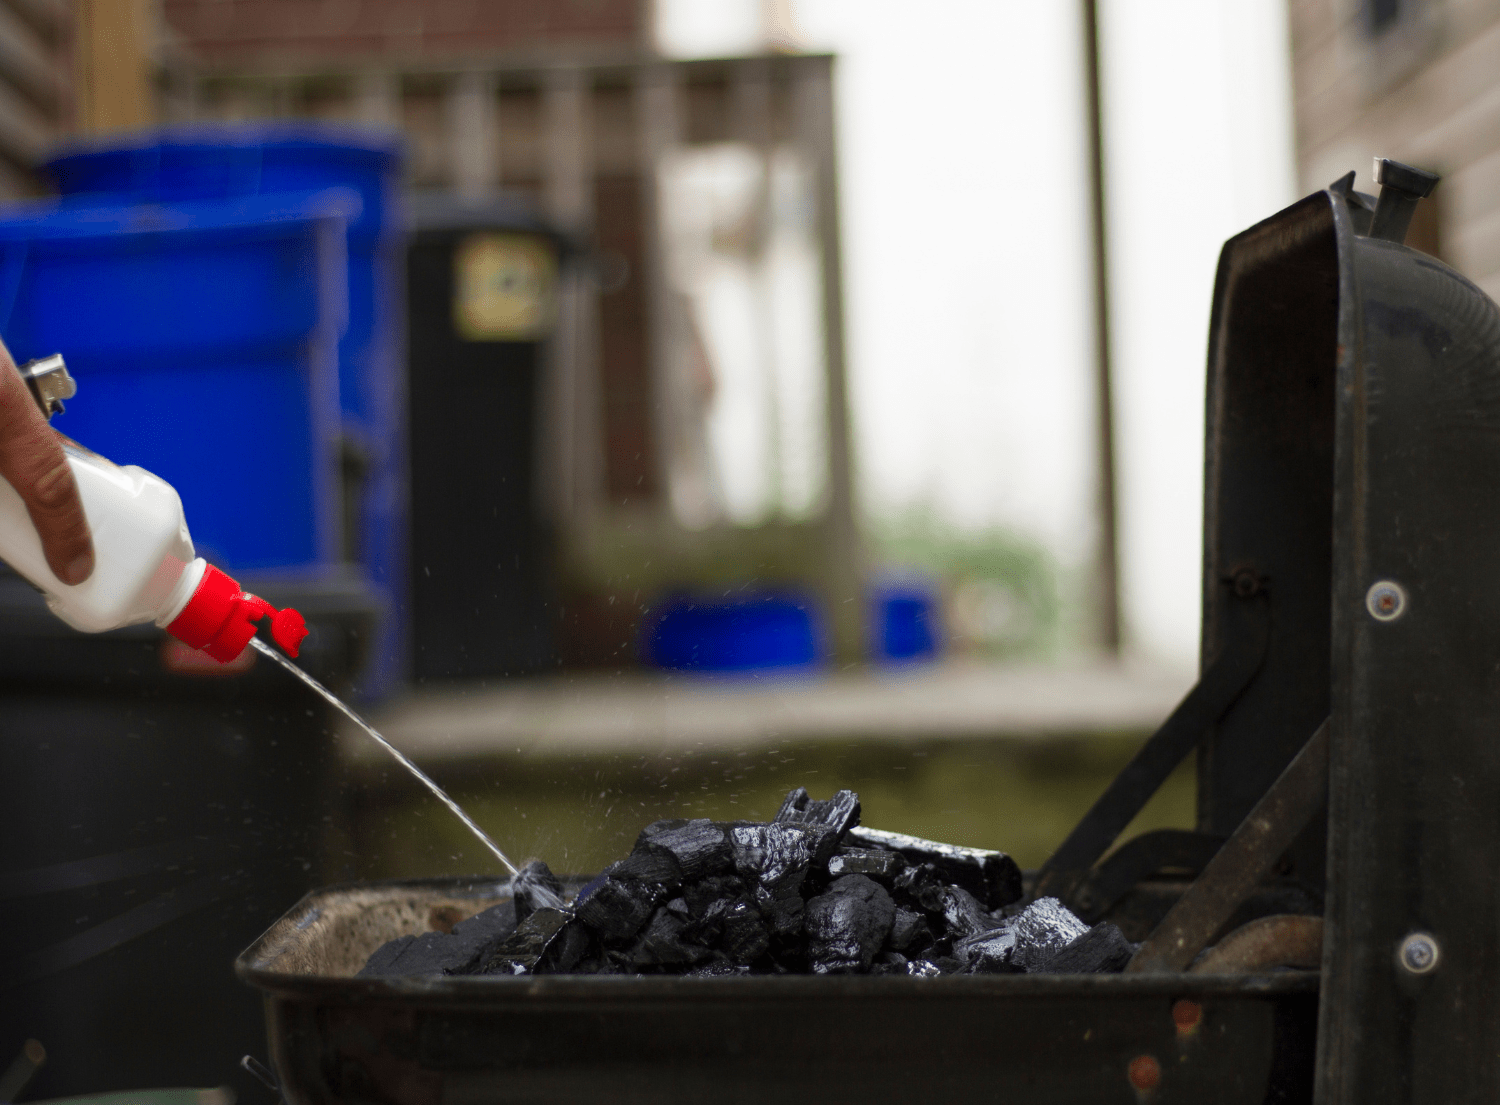
Deep Cleaning and Sanitation: Start with a deep clean of the entire grill. Use a grill brush, mild dish soap, and water to scrub off any food residue, grease, and leftover food particles. Pay close attention to the grates, cooking grates, and heat plates. If needed, use a putty knife for food debris in tight spots.
Inspecting Components: Check for rust, cracks, or broken parts, and make any necessary repairs. Look over the burners, heat plates, and drip pans for wear and tear. Address uneven flames or corrosion that might worsen over the winter months.
Protecting with Cooking Oil: To prevent rust, apply high-heat cooking oil to the grates, burners, and metal parts. This step is especially important if you will be storing your grill outdoors. This coating provides extra protection against moisture, cold weather, and corrosion.
Disconnect the Propane Tank: If you use a gas grill, disconnect the propane tank and ensure the valve is completely closed. Propane tanks should never be stored in an enclosed space like a garage. Store them in an upright position in a well-ventilated area away from your home.
Protecting the Grill from Moisture
Winter storage is challenging for grills due to moisture buildup, which can lead to rust and corrosion. Follow these tips to help prevent moisture damage to your grill.
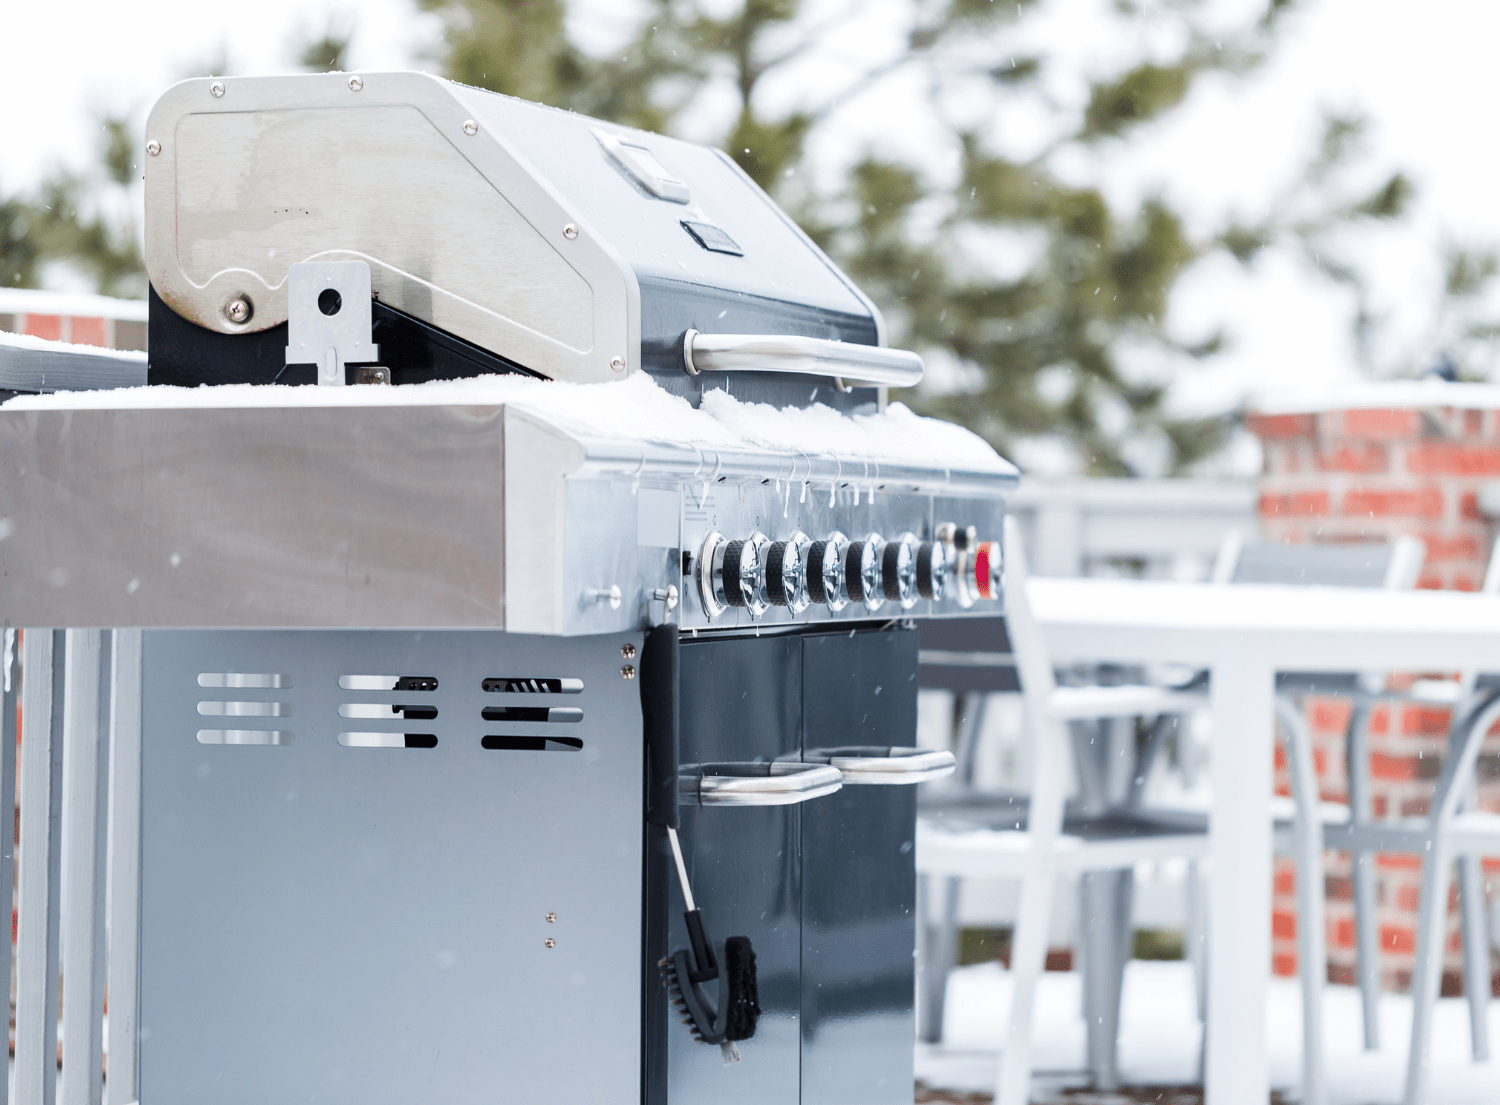
Using a Protective Cover: Use a heavy-duty, weather-resistant grill cover. It should have breathable material to prevent moisture buildup. Make sure the cover fits snugly to keep out snow and rain. In exposed areas, use a waterproof plastic bag or cover for extra protection.
Storage Location: The best option is to store your grill indoors. If you lack space, use a shed or a cover if it's outside. Avoid unheated garages or attics. They can cause condensation and moisture issues. If you must keep your grill outdoors, ensure it’s on a flat surface away from direct snow or rain.
Protecting Pellet Grills: For pellet grills, remove any leftover pellets and empty the hopper. This prevents moisture from ruining the wood pellets and keeps the grill ready for spring grilling.
Grill Cover Options
Selecting a proper grill cover for winter is crucial for effective storage.
Size and Fit: Choose a cover that fits your grill size and shape to ensure optimal protection. Covers that are too loose or too tight can allow moisture in or blow away in strong winds.
Breathable, waterproof material: Breathable covers with a waterproof layer help prevent moisture buildup while keeping your grill dry. For outdoor storage, heavy-duty covers offer the best protection against snow, ice, and cold weather.
Tips for Winterizing Specific Types of Grills
If you own a pellet grill, gas grill, or charcoal grill, each type has unique needs. Here’s a quick guide to storing each kind:
Pellet Grills
Empty the pellet hopper completely and cover it with a protective layer of high-heat cooking oil on metal surfaces. Ensure you have a well-fitted cover to shield the grill from snow and moisture.
Charcoal Grills
Remove any leftover charcoal and ash. A thorough cleaning will prevent rust and keep your grill ready for the next season.
Gas Grills
As mentioned, disconnect and store the propane tank safely. For gas grills, cleaning the burners and heat plates is crucial, as these parts are prone to rust.
Final Storage Preparations
Before storing your grill, do some final checks. They will ensure it's ready when grilling season returns.
Remove Batteries and Electronics: If your grill has a battery-operated ignition, remove the battery to avoid corrosion. Wrap any electronic parts in a plastic bag to protect them from moisture.
Properly Store Cooking Grates and Drip Tray: Take out the cooking grates and drip tray, and give them a final clean. Store them in a dry place, perhaps in a storage unit or indoors, for extra protection.
Ensure Everything is Clean and Dry: Double-check that your grill is free from food debris, food residue, and grease, which can attract pests and create odors over winter.
Storing Tips for Limited Spaces
If you don’t have space in a garage or shed, consider using a storage unit or vertical storage options to keep your grill safe.
Storage Units: A storage unit can provide climate control and protection from the elements. It is an excellent option for year-round protection of premium grills.
Vertical Storage Racks: If floor space is tight, a vertical storage rack can save room while keeping your grill indoors and protected.
Climate-Controlled Spaces: For high-end models or grills prone to rust, a climate-controlled storage unit is ideal. These spaces provide extra protection from extreme cold weather, moisture, and pests.
Alternative Storage Locations to Avoid
Avoid placing your grill in areas prone to moisture and temperature fluctuations. Storing in the wrong place can cause deterioration and even safety hazards.
No Garage or Attic: While convenient, garages and attics are often humid, leading to rust and corrosion over time.
Keep away from heat sources: Avoid storing near heaters or open flames. Propane tanks, especially, should not be near any heat sources due to fire risk.
Proper winter storage is key to keeping your grill in great shape for next season. Whether it’s kept indoors, in a shed, or in a storage unit, following these steps will have it ready for spring.
Use a heavy-duty cover, apply cooking oil to metal parts, and choose a dry, ventilated space to protect it from moisture and rust.
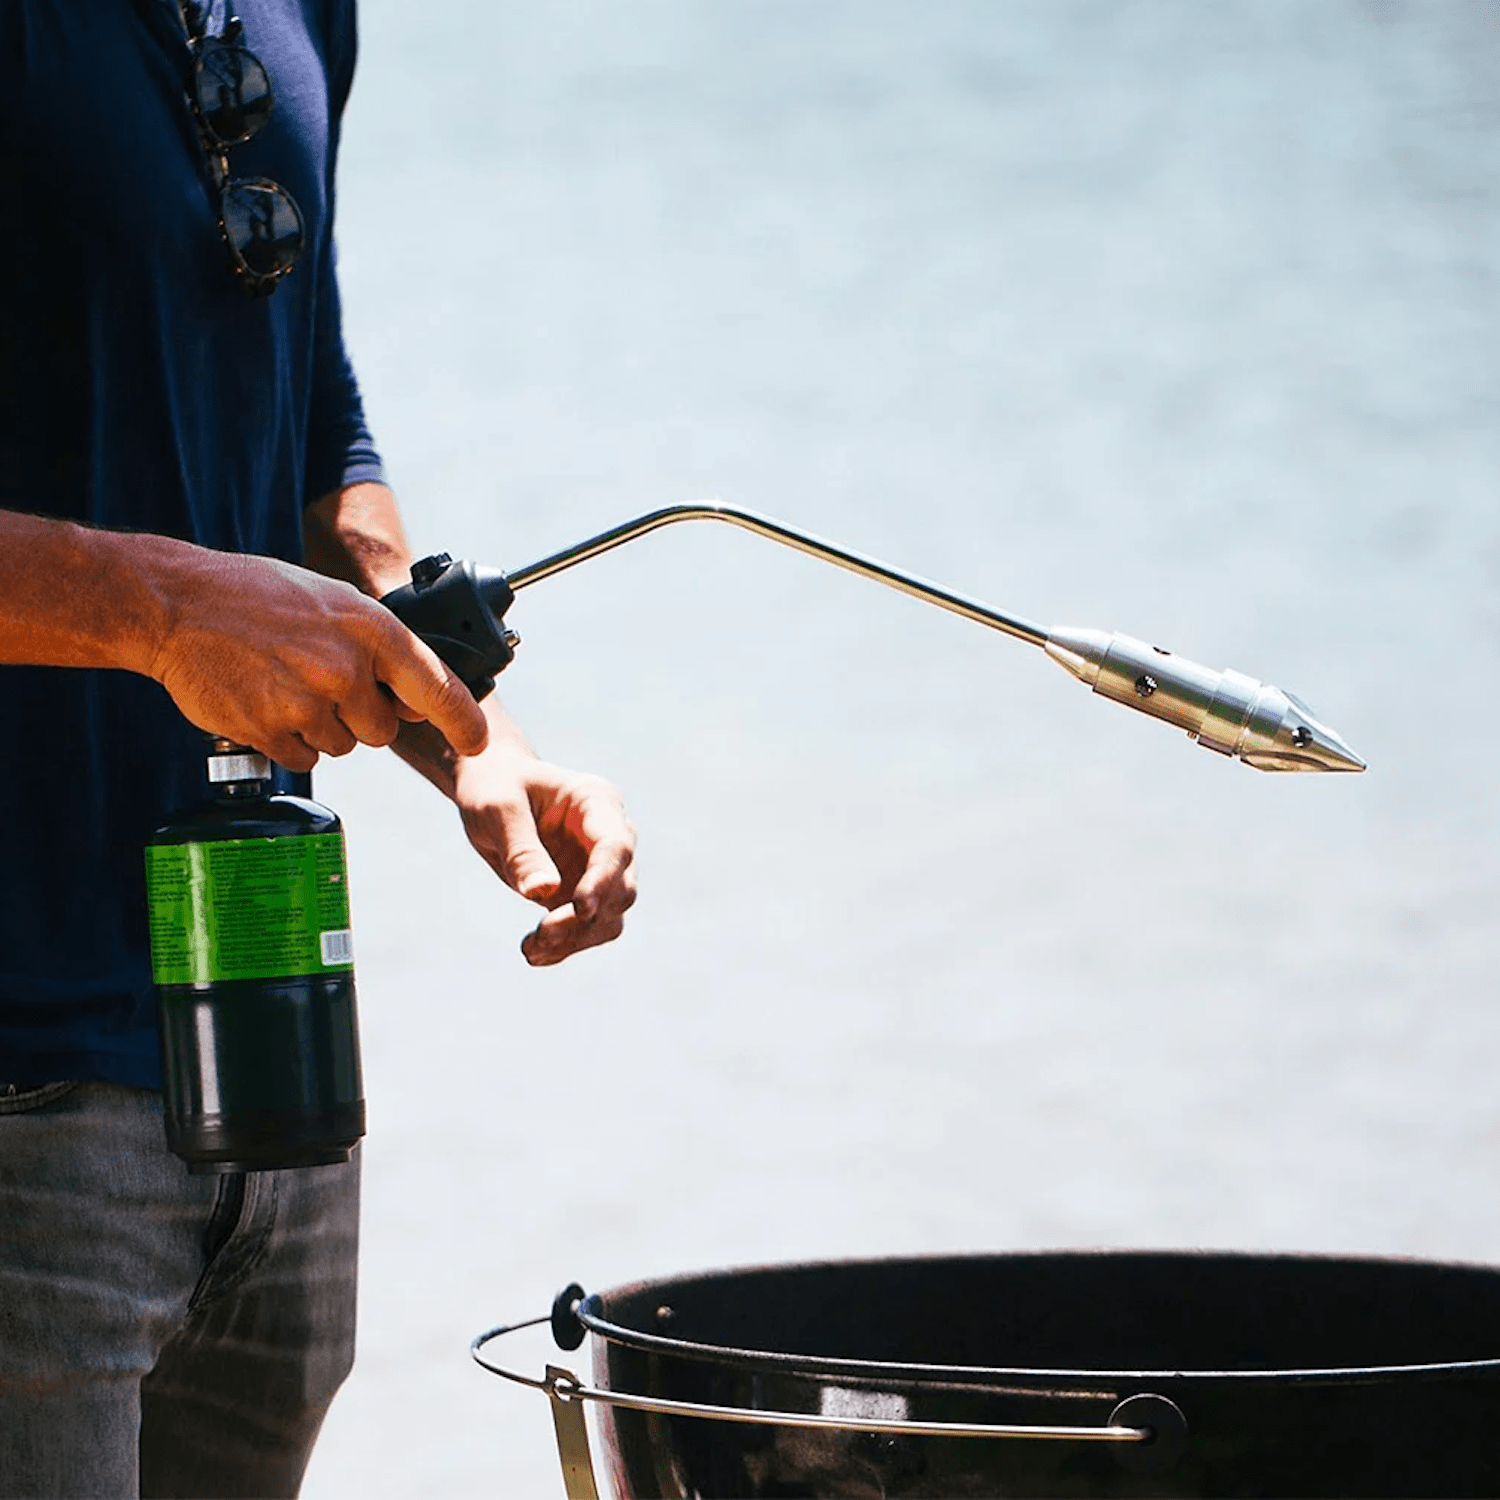
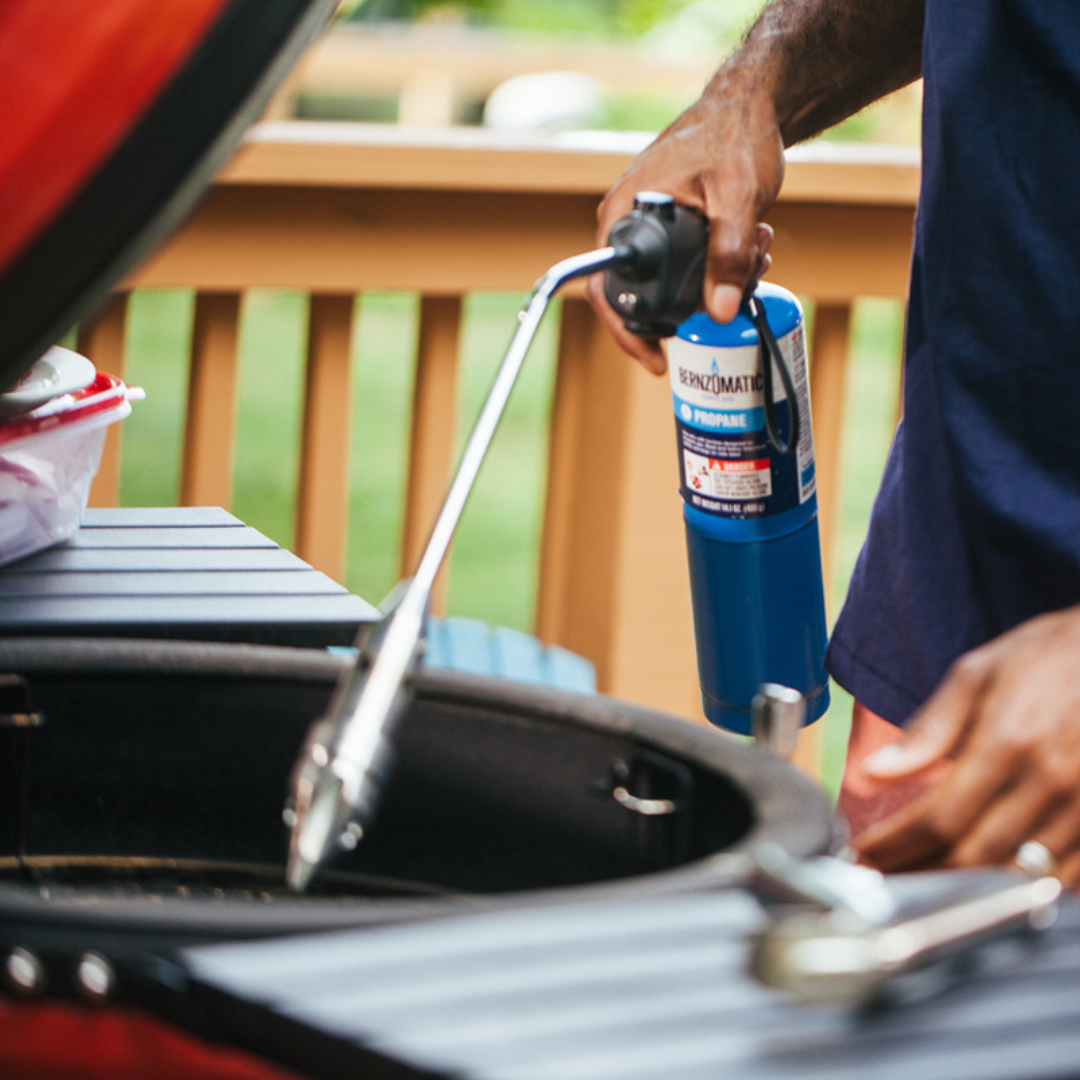
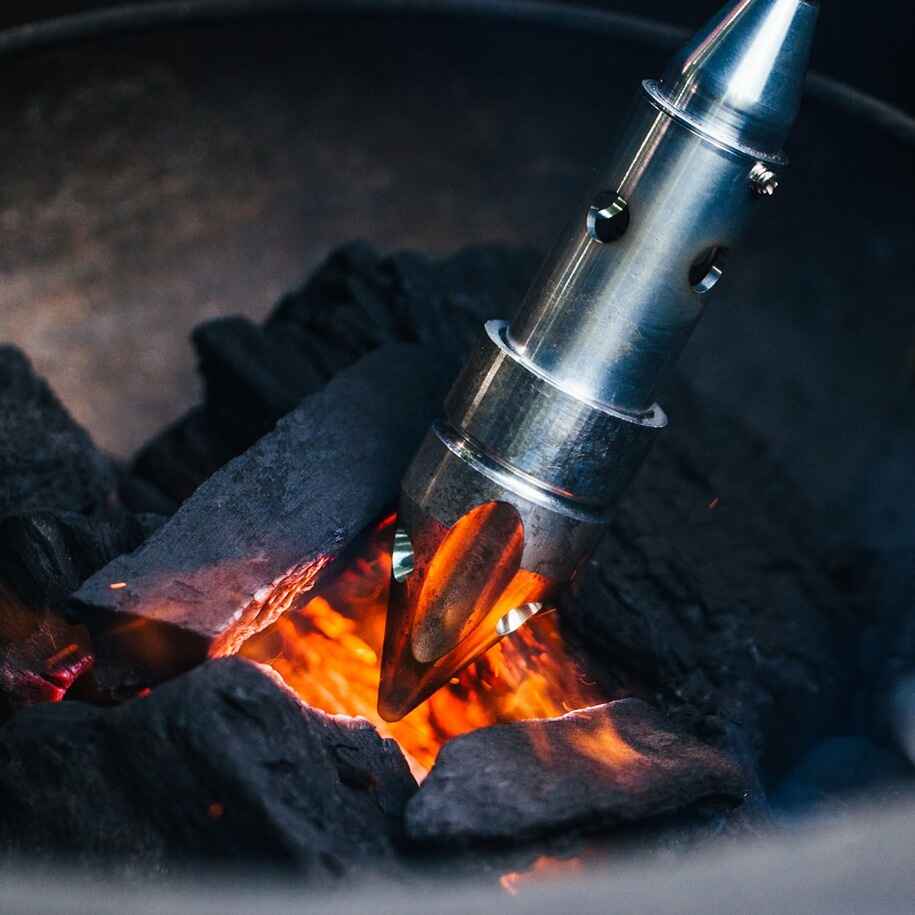
When it's time to light up again, trust The RocketFire™ Fire Starter. It offers quick, easy ignition for wood or charcoal—no matches or lighter fluid needed. Its Tri-Flame Cone Tip provides even flames, giving you a fast and consistent start every time. With proper winterizing and RocketFire on hand, you’ll be all set for hassle-free grilling when spring rolls around.

