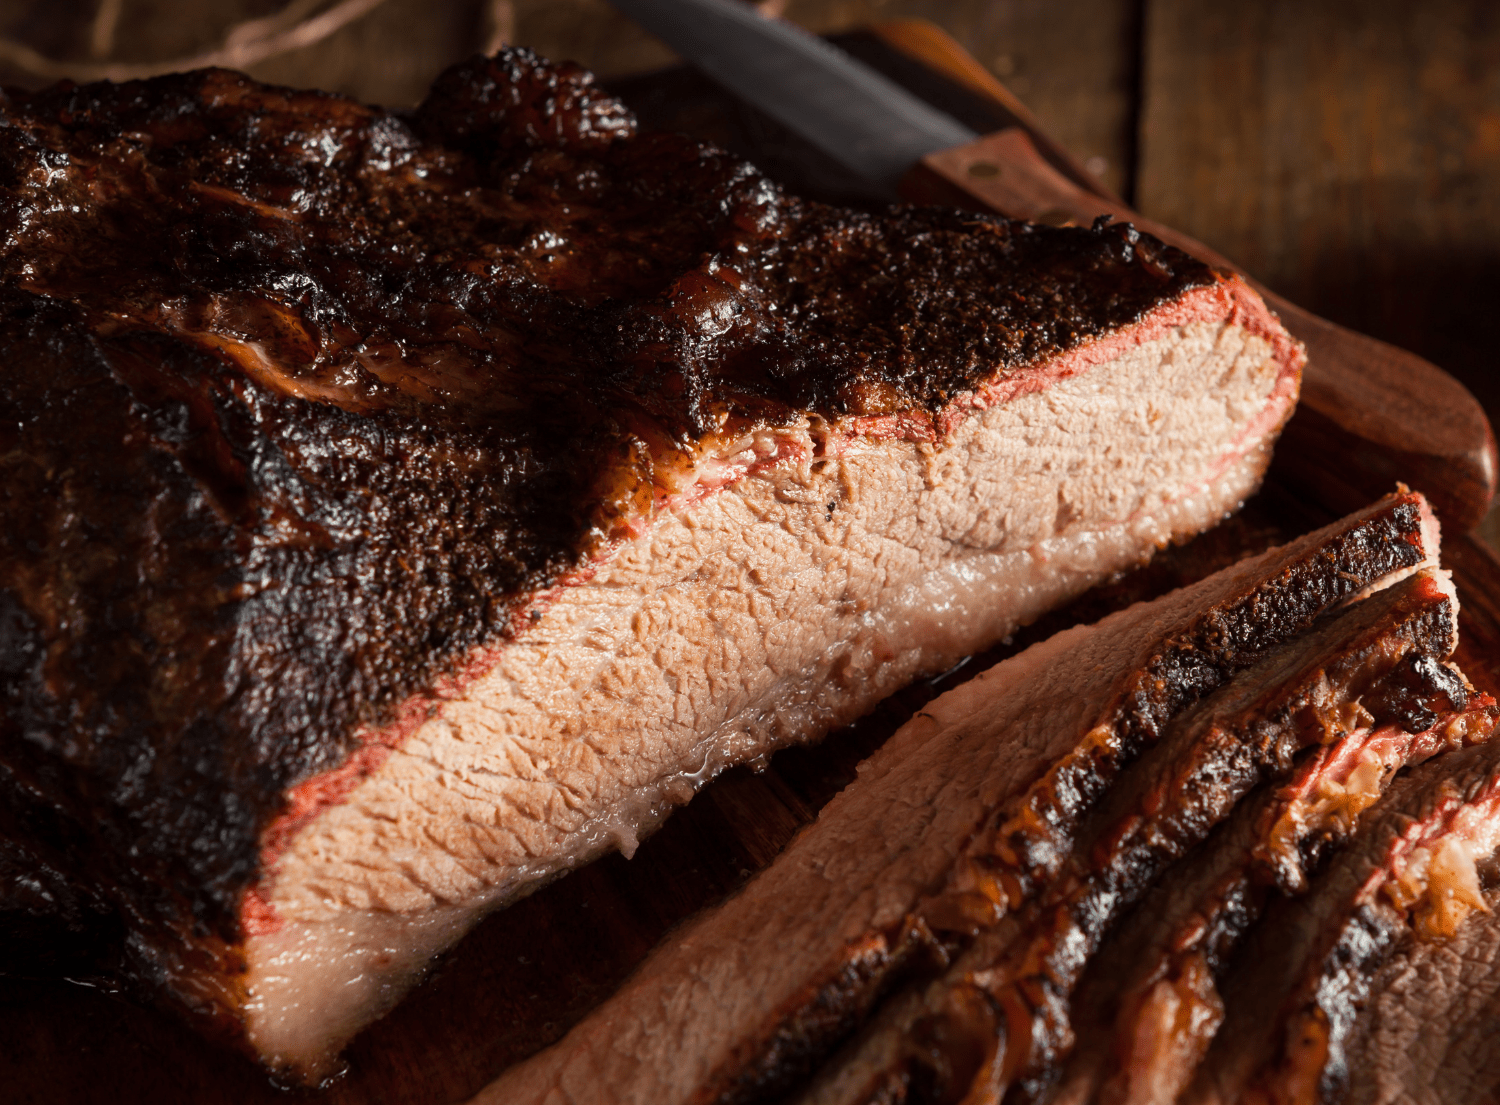

As the warmer months approach, we're eagerly anticipating the arrival of grilling season. After all, there's nothing quite like the aroma of sizzling steaks or burgers on a well-seasoned grill. Whether you're a seasoned grill master or just getting started on your grilling journey, learning how to season your grill properly can make all the difference in the flavor and quality of your cooked meats, vegetables, and seafood.
Similar to cast iron cookware, properly seasoning your grill grates serves as the foundation for achieving optimal grilling results, ensuring that each dish emerges with a perfect balance of flavor and tenderness. In this blog, we'll walk you through everything you need to know about seasoning your charcoal grill, from setup to cooking techniques. Let's get started.
The Importance of Seasoning Your Grill
Whether you're unboxing a brand new grill or dusting off one from storage, thoroughly seasoning your grill not only protects and prolongs the lifespan of your grill or smoker but also enhances the flavor of your food, allowing you to consistently deliver mouthwatering grilled dishes. We love how a seasoned surface imparts subtle smoky undertones to each bite, elevating the flavor profile of your favorite grilled foods.
Additionally, meticulously seasoning the grill creates a protective barrier against rust and corrosion, shielding it from the rigors of high heat and outdoor elements. This helps extend its lifespan. Furthermore, a well-seasoned grill simplifies the cleaning process by preventing food from sticking to the grates, allowing for effortless maintenance and upkeep. After each use, be sure to clean the grates with a brush and lightly coat them with oil to keep them in top condition.
How to Season Your Grill
Choose Your "Seasoning Sauce"
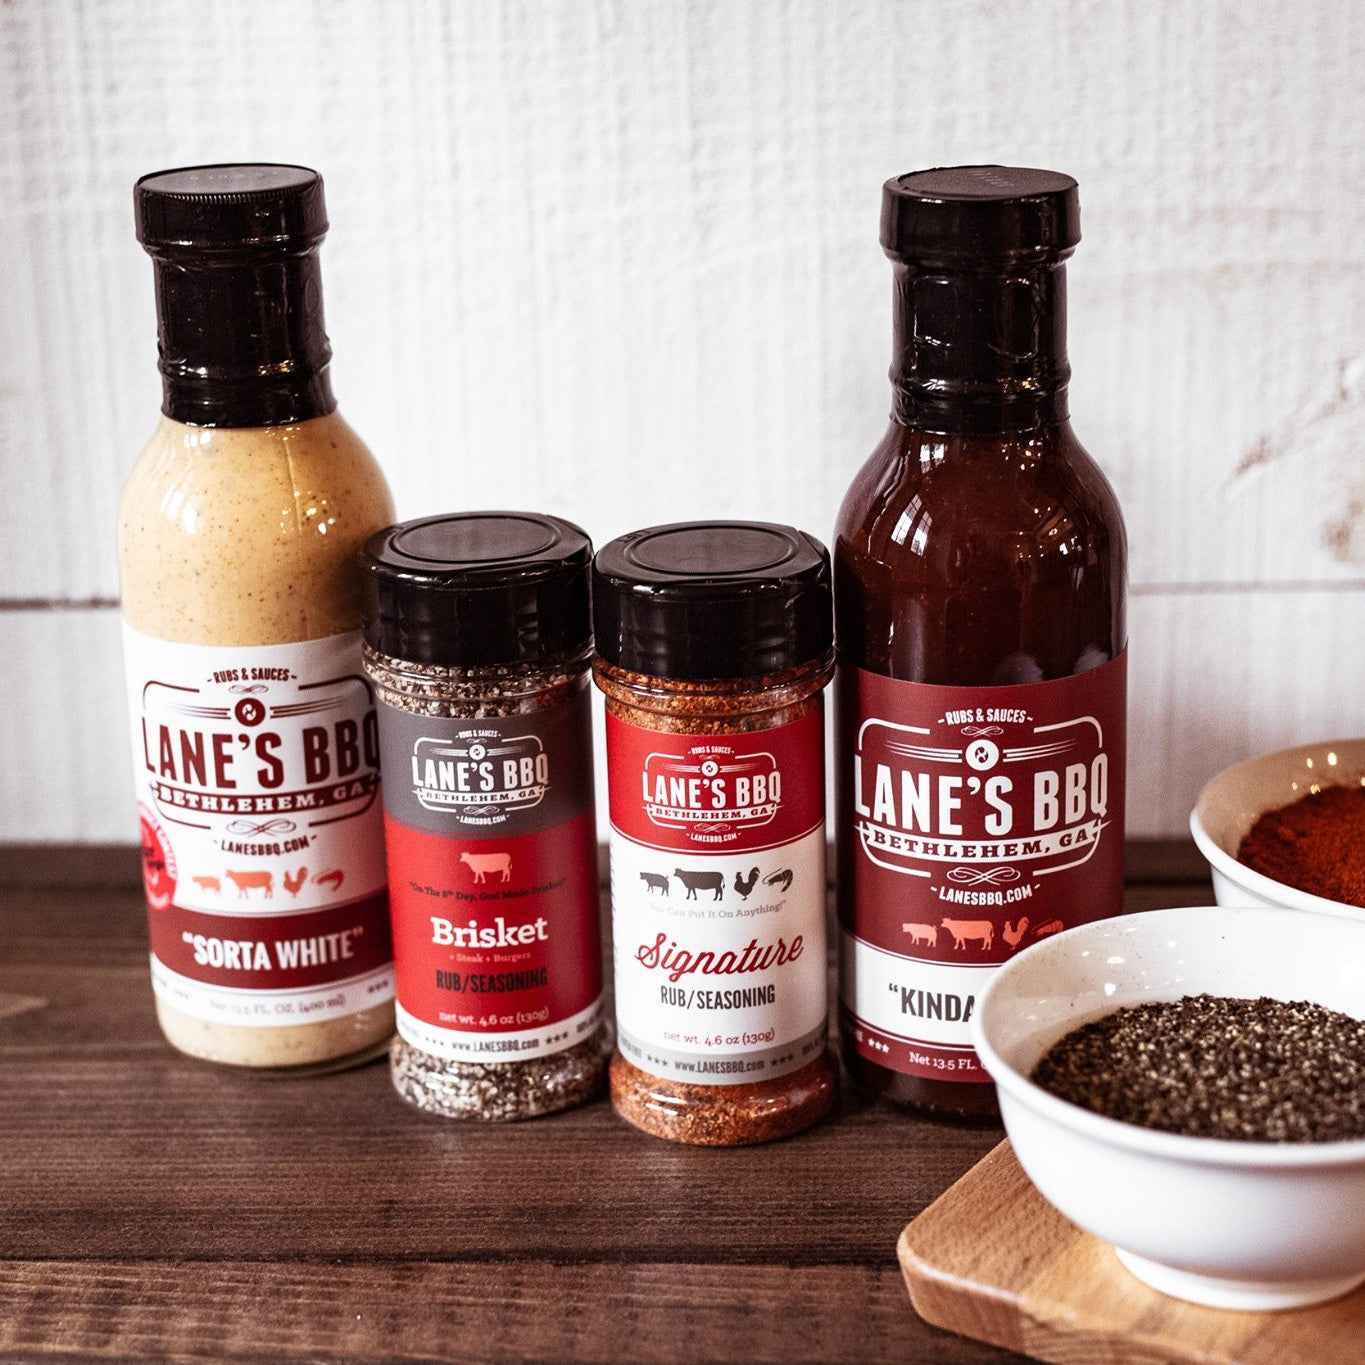
Grill enthusiasts often have their favorite "seasoning sauce," whether it's bacon grease, vegetable oil, or a blend of oils. Whatever your preference, this will be the cornerstone of your seasoning process. Have it ready alongside a brush – preferably a new paintbrush – to ensure even application across the grill.
Clear Out Your Grill/Smoker
Start by removing the grill grates and any internal components, including the Side Fire Box if applicable. Keep these components within reach, as you'll be reintroducing them one by one after coating.
Apply the Coating Throughout
While some may opt to only season the grates, it's advisable to coat the entire interior of the grill or smoker. Dip your brush into the "Seasoning Sauce" and generously coat every surface inside the barrel, including the lid, nuts, and bolts. Ensure thorough coverage of every nook and cranny, and don't forget to treat the interior of the Side Fire Box if it's part of your setup. Reassemble the grill components gradually, making sure each piece is fully coated, including both sides of the grill grates.
Heat Up Your Grill/Smoker
Now, it's time to ignite your grill. For gas grills, set the temperature between 250-275 degrees Fahrenheit. If you're using charcoal, use the ignited coals from earlier. Transfer them to your grill or Side Fire Box, and close the lid. Optionally, you can add wood chips to the coals for extra flavor.
Control the temperature of the grill to 250-275 degrees Fahrenheit for approximately 2 hours to allow the seasoning to set. During this time, you'll observe smoke emanating from the grill. After two hours, apply a final coating before allowing it to bake for another hour and then cool down.
Preserve the Seasoning
After the initial seasoning, maintain it by lightly coating with oil after each use. This prevents rusting and preserves the non-stick surfaces. With your grill properly seasoned, you'll find day-to-day grilling becomes more effortless and enjoyable.
How to Set Up Charcoal Grill for Cooking
Now that your grill is seasoned, preparing and maintaining your charcoal grill is essential for achieving optimal grilling results. Follow these steps to get started:
Gather Your Supplies:
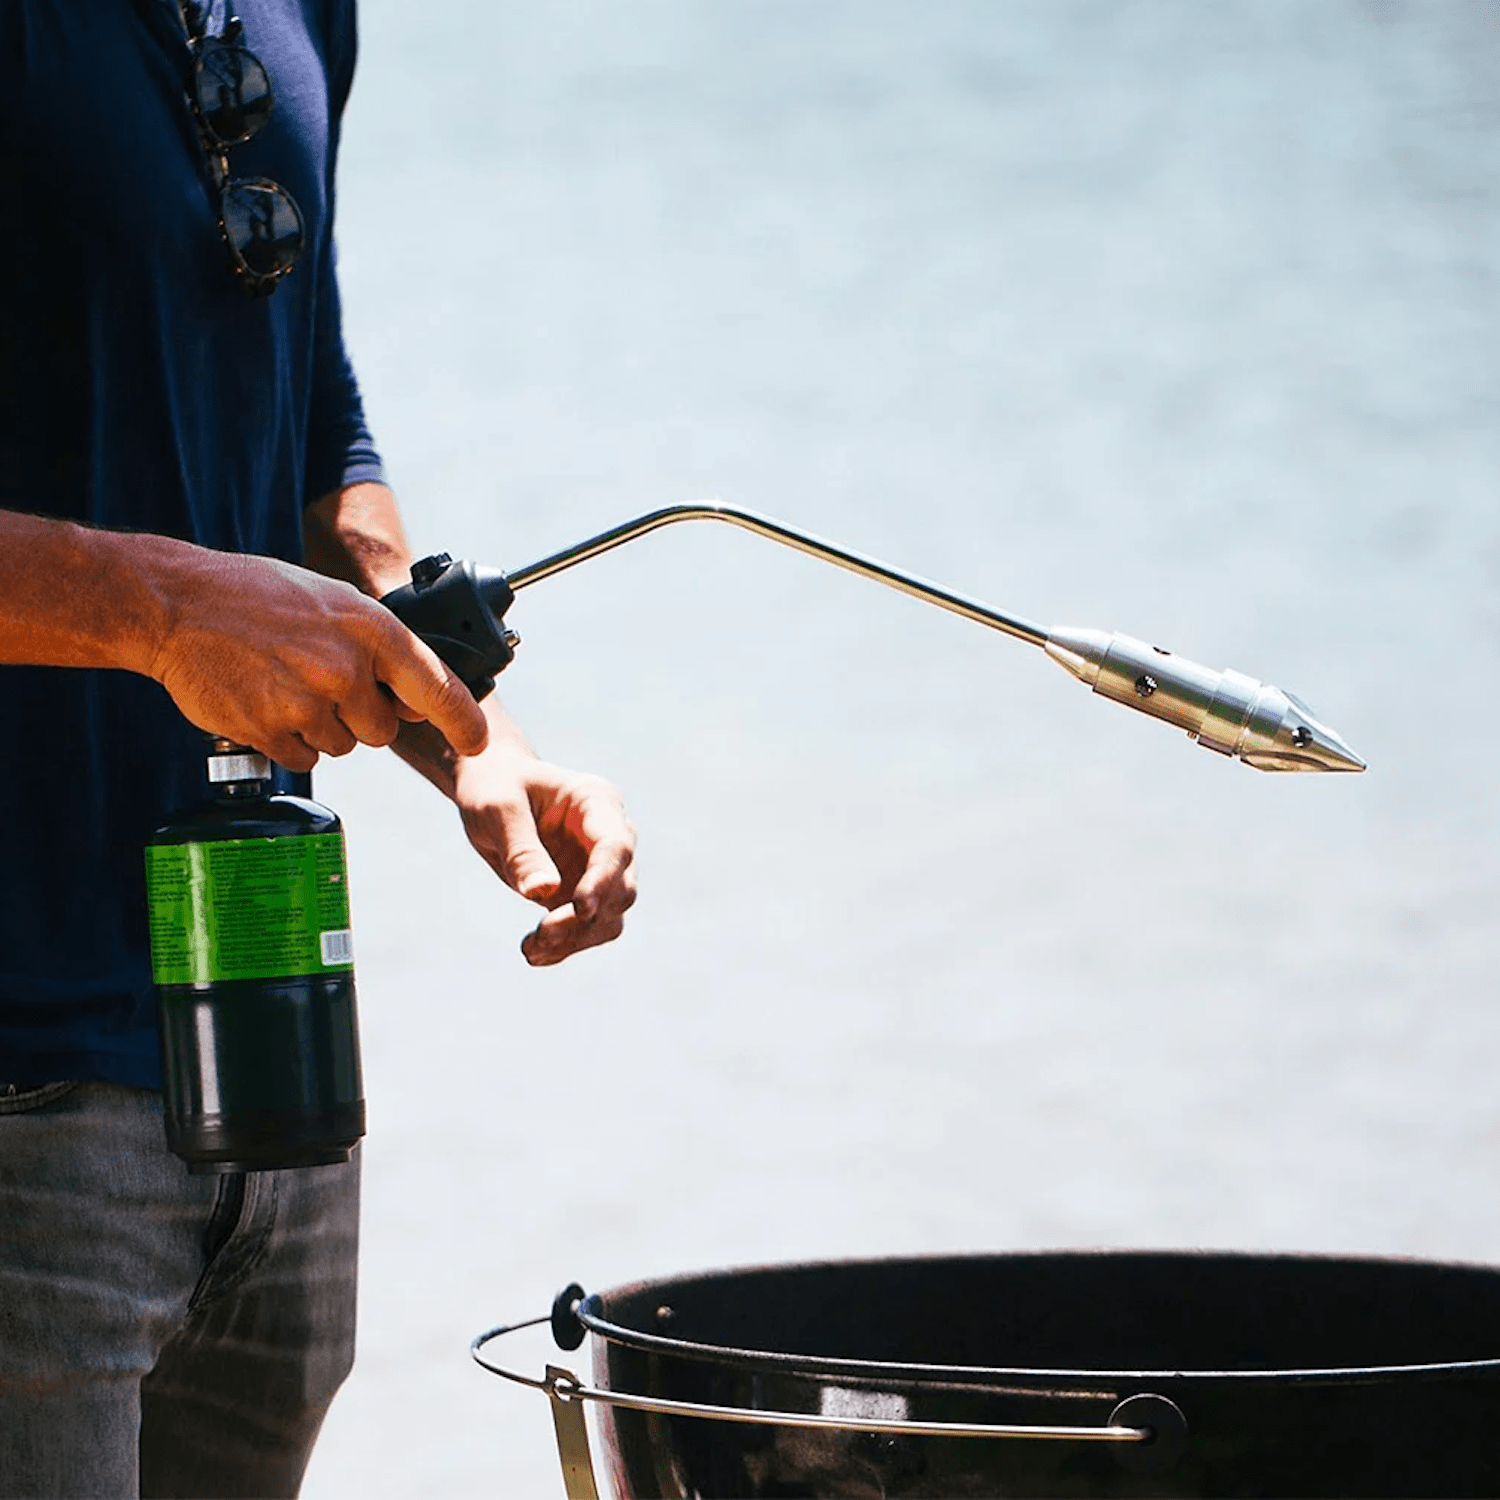
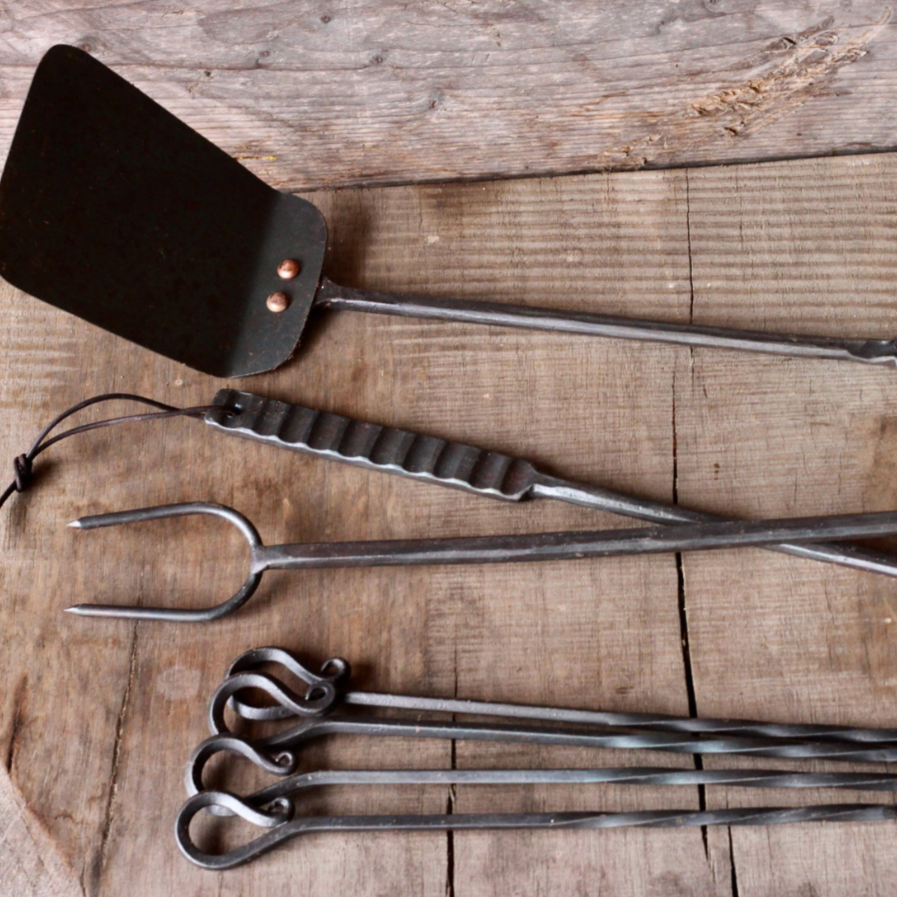
Before you begin, make sure you have all your supplies handy. You'll need a good amount of charcoal, something to light your grill like The RocketFire™ Fire Starter, and your grill tools.
Arrange the Coals:
For a charcoal grill, there are two main setups: direct heat and indirect heat. For direct heat, arrange the lit coals evenly across the bottom grate. For indirect heat, pile the lit coals to one side of the grill, leaving the other side empty.
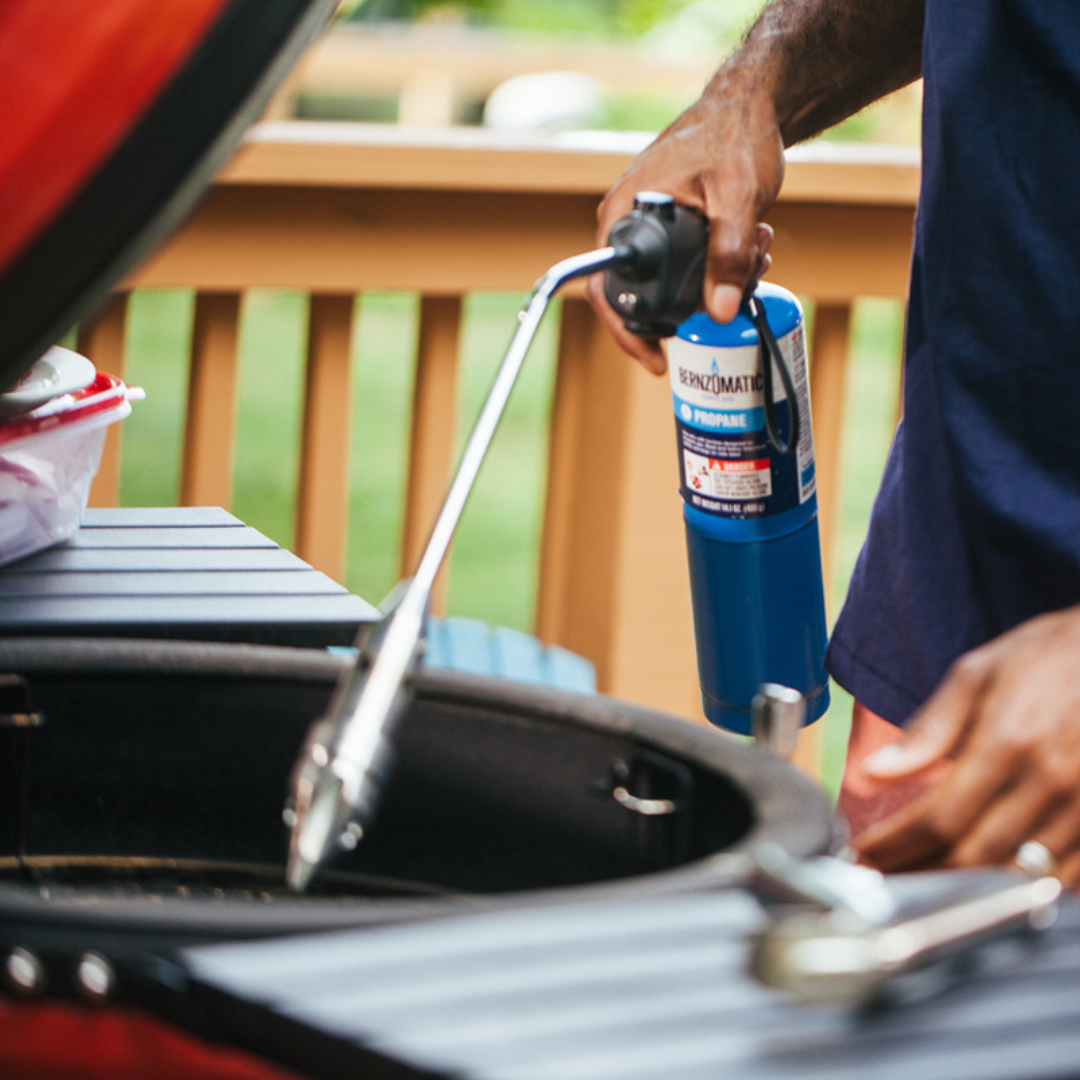
Light the Coals:
We recommend using The RocketFire™ Fire Starter to light the charcoal as using lighter fluid can impart an unwanted taste to your food. Once the coals are glowing and ashed over, carefully pour them onto the grate.
Preheat the Grill:
Allow your grill to preheat for 10-15 minutes with the lid closed. This will ensure that the grates are hot and ready for cooking.
Tips for Grilling Success
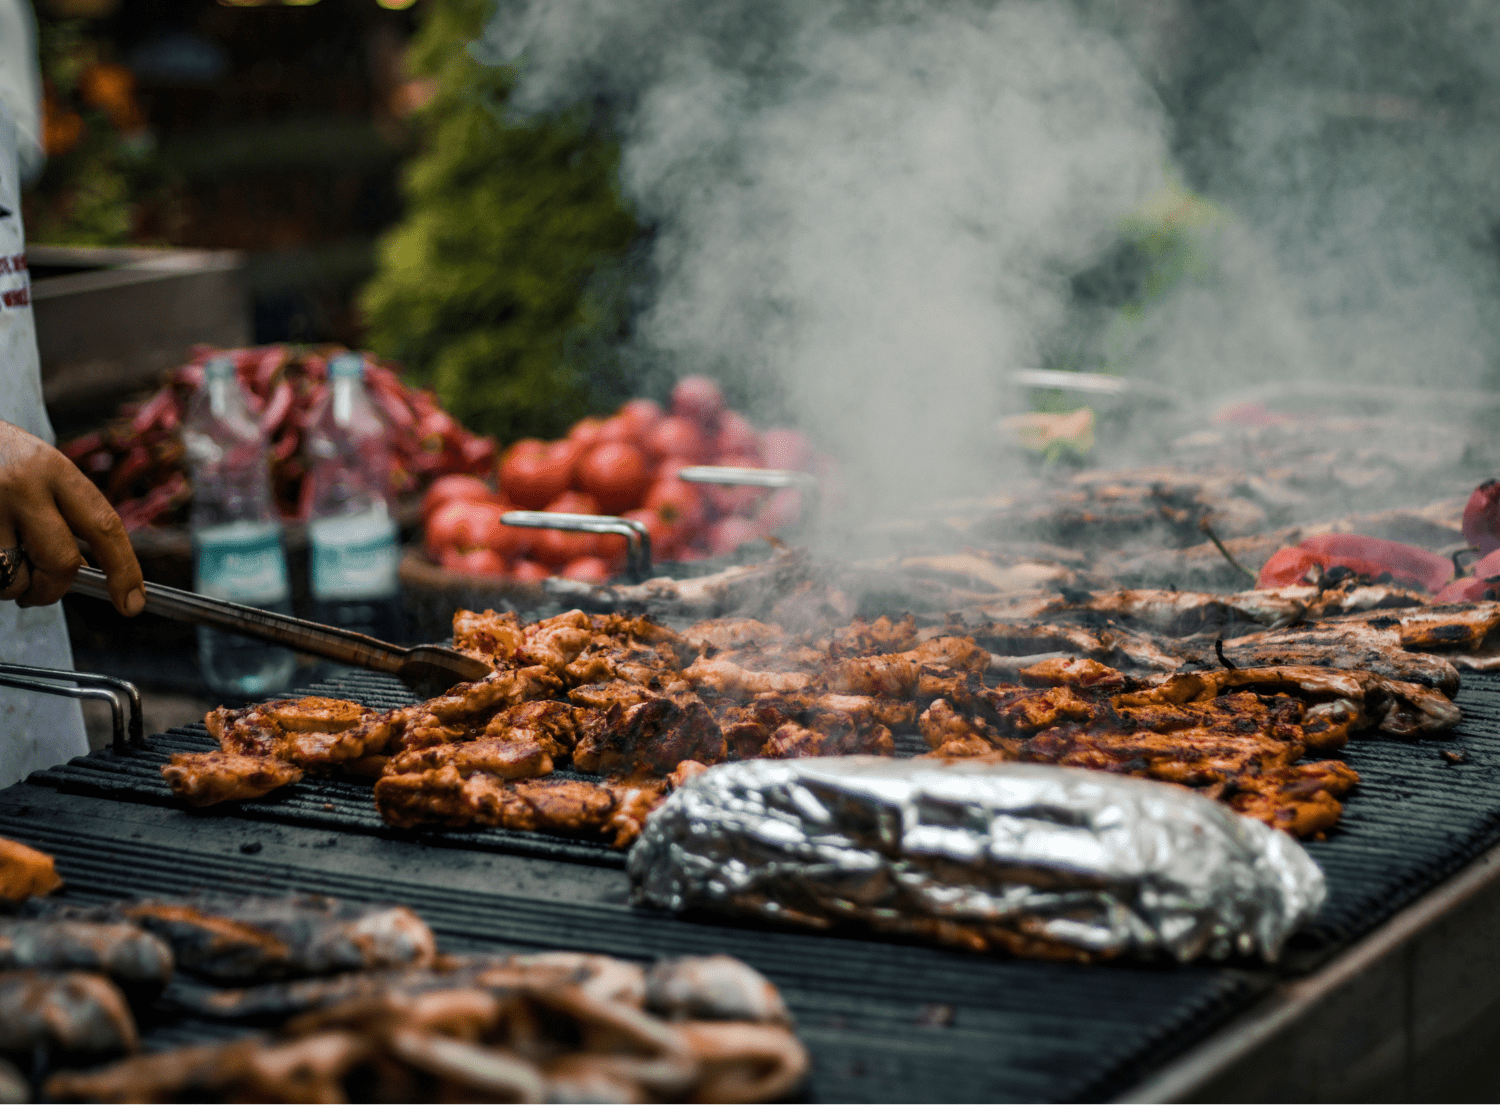
When grilling, it's important to understand the different cooking methods to achieve the best results. Direct cooking is ideal for foods that cook quickly or require high heat, such as steaks, burgers, or thin cuts. Simply place the food directly over the coals and cook with the lid closed to trap the heat and smoke, resulting in perfectly seared and juicy meats. On the other hand, indirect cooking is best for foods that require longer cooking times or gentle heat, like roasts or whole chickens. By placing the food on the side of the grill opposite the coals and cooking with the lid closed you create a "cool zone" for slower, more even cooking, ensuring tender and flavorful results.
To achieve those coveted grill marks, position your food on the grate at a 45-degree angle to the bars. Cook for a few minutes, then rotate the food 90 degrees to create a crosshatch pattern, adding visual appeal to your dishes. Lastly, to avoid flare-ups, trim excess fat from meats and keep a spray bottle of water handy to douse any flames that arise. Additionally, adjusting the airflow on your grill can help control the flames, allowing for safer and more enjoyable grilling sessions.
Curious about what not to do when it comes to grilling on charcoal? Discover our blog post on what mistakes to avoid when lighting a charcoal grill.
Seasoning your Grill With Ease
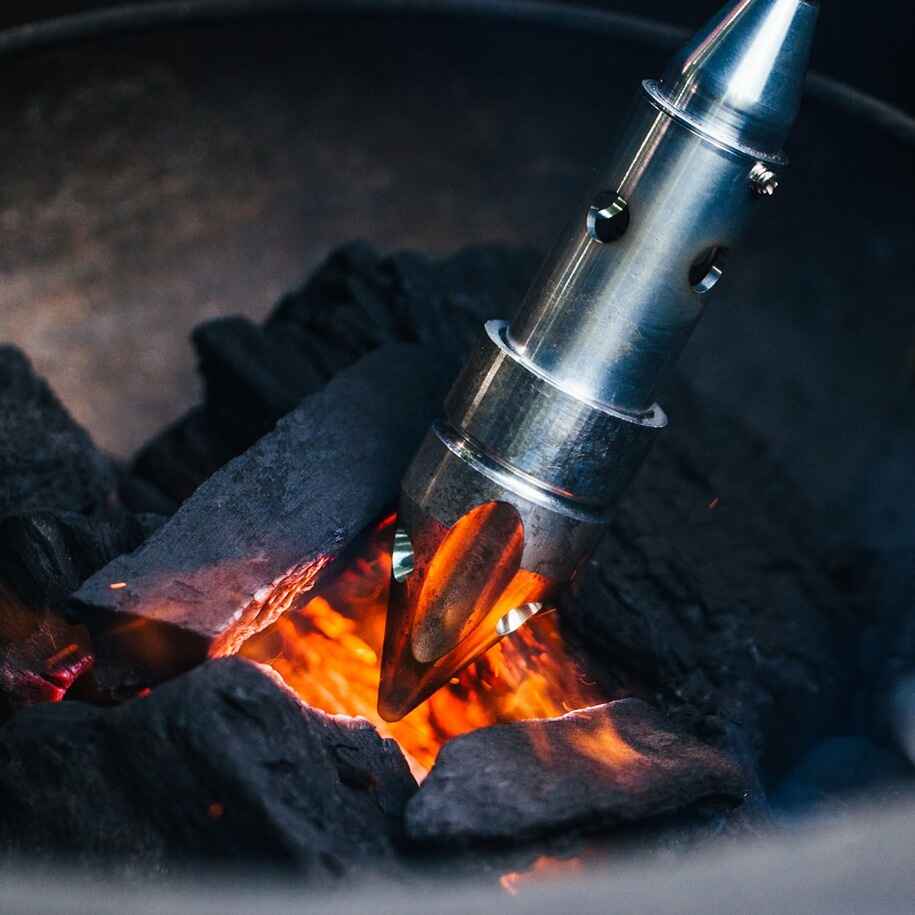
The RocketFire™ Fire Starter isn't just for lighting grills; it's also a versatile tool for seasoning them. Before seasoning your grill, ensure it's clean and free of any debris. Once ready, use the RocketFire torch to evenly heat the grill grates. The intense heat from the torch helps to burn off any remaining residue and prepares the surface for seasoning.
After heating the grates, apply a thin layer of oil using a brush or cloth. The high heat of the torch helps the oil penetrate the metal, creating a protective layer that prevents rust and enhances non-stick properties. Repeat this process several times, allowing the oil to absorb into the metal with each application.
Once seasoned, allow the grill to cool before using it for cooking. By using the RocketFire torch for seasoning, you'll ensure your grill remains in top-notch condition and delivers delicious results every time you cook. Once your grill is properly seasoned, gather your favorite meats and veggies, and get ready to savor the flavors of grilling.